When the pandemic lockdown began, I spent several weeks in a fervent effort researching how to grow our own organic vegetables. We’ve had two abundant years growing our own vegetables since then. To save you time, I compiled what I’ve learned on the basics of the square foot garden method (and updated this for 2022!), getting started growing your own organic vegetable garden, and info and links for you to get everything you need.

When planning our backyard vegetable garden, I decided on the square foot garden method since its main focus is efficient production, even in small growing areas. You only need a few things to get started, and just a small space with natural sunlight. Here’s a comprehensive, straightforward, no-nonsense guide of what you need to get started here for you, to save your time and sanity because there is a lot of click-bait, drip fed content out there to maximize clicks and monopolize your time.
I’m also providing links to what we bought, which I thoroughly vetted by poring over reviews. I really wanted to have a successful first run at this gardening thing, because we’re tired of spending a fortune on delivered produce and I have zero confidence in the supply chain going forward since there are going to be shortages of workers.

Gardening is something I’ve always wanted to try anyway, so why not start under duress? Let’s learn together, shall we?
My goal is simple: to grow our own organic produce, as efficiently as possible – maximizing our garden plot, and minimizing work time. My Dad suggested I look into square foot gardening, which was developed with exactly those goals in mind. Thanks, Dad!
Affiliate links are included for your convenience.
Square Foot Gardening: The Why

Square foot gardening is the answer to small footprint and budget gardening, and was developed to maximize output from a garden layout, while minimizing weeds and maintenance by planting everything close together as efficiently as possible.
It’s exactly what it sounds like: growing in a square foot space, or as many as fit in your garden. See the boards laid across the garden bed above to delineate the squares Mel’s beaming over? You can have square foot container gardens (just planters and pots on an apartment balcony, or even a front stoop staircase that gets sunlight).
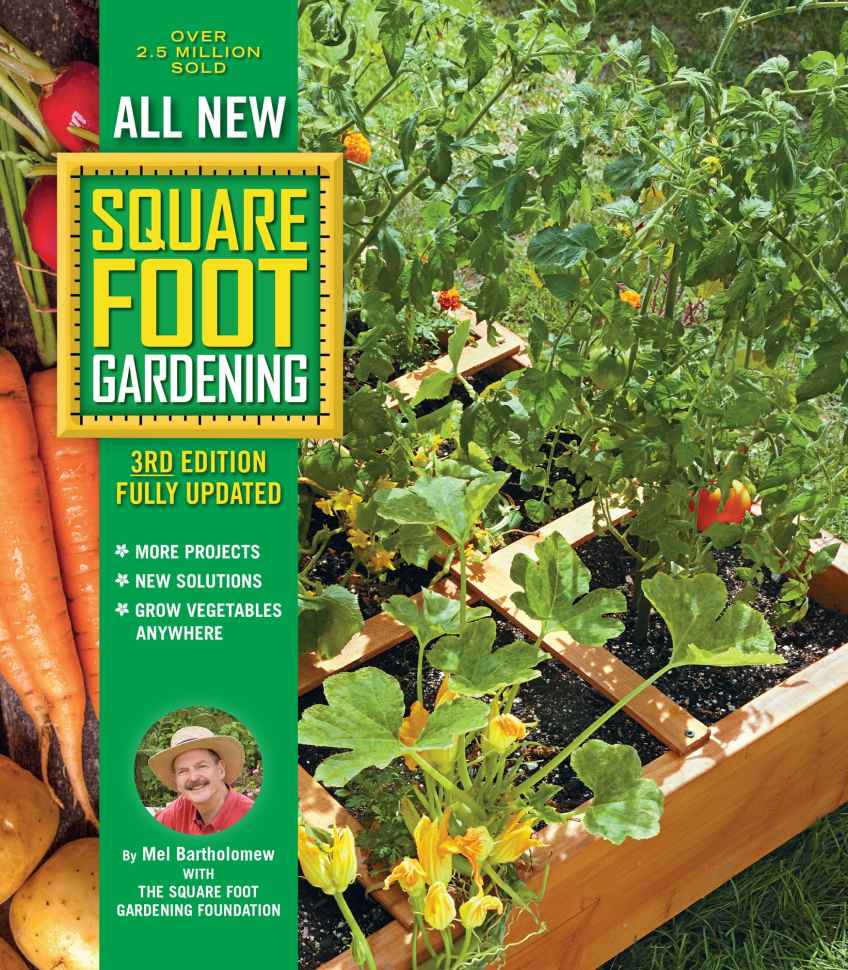
Avoid the blackhole of Googling gardening tips and buy the e-book guide now, (check the price – it’s also in paperback or spiral-bound) written by the creator of the concept, Mel Bartholomew. I got the e-book version and read it on my iPad – it’s extremely easy to navigate.
I refer back to it often during the growing season. It includes the basics of getting started, and a whole section on tips for growing each vegetable and how to harvest them. All in one place.
Seriously, support the creator and save yourself hours of research. It will answer most of your questions about starting a vegetable garden.
You plant a specified number of seeds per square, depending on the plant. When one vegetable has run its course for the season, you can dig it out and immediately plant a repeat, or another vegetable in that square without having to dig up your whole bed. You need to mark your squares for bragging rights succession planting purposes (that’s fancy for planting another vegetable after your first one’s all eaten and dug up). You can get fancy and use wood, or use string like we are. Here’s an illustration that demonstrates the technique very clearly, with precisely planted numbers of each plant per square, and a diagram displaying their each vegetable’s location.
Getting Started: Square Foot Gardening Supplies
If you can get to a hardware store (minding your social distances!), getting set up can be done in one day. You can also get started via delivery if you’re stuck at home forever for the foreseeable future like me, as a high-risk member of the population. I’m sharing where to buy what you need.
To start, you need: a raised garden bed and cardboard, or deep pots to plant in, soil, seeds, sunlight and water.
Start there, especially if you need to wait on deliveries. Once things are growing, you’ll need supplies for pest control, and possibly deer deterrents.
You may need to do some leveling (we did) – you don’t want it to slant as this will create drainage problems and cause your bed to shift over time.

Here’s our 4×12′ plot that Sean leveled last weekend. You can see the beds being assembled in the background. It’s hard to tell here if this is the foundation for what we hope will be a beautiful new family tradition – or a grave for vegetables we may end up murdering. Time will tell.
Sidebar: I told Sean not to stress about the garden. That it would be my project, not his. In my defense, this was true when we were planning to put the garden on the level yard by the driveway, but I felt uncomfortable having our organic produce growing next to an aging driveway that will need to be repaved in the next couple of years, leaching all sorts of nastiness into our soil.
Planters & Raised Garden Beds
The square foot garden method was developed with economies of cost and space in mind, and you can start as small as you need to to get started, and scale when you’re able. It can be done as container gardening, AKA planting plants in pots, making it the best choice if you’re in an apartment. There are simple instructions in the All New Square Foot Gardening guide to build your own garden beds as a simple DIY if you can get your hands on lumber.
It’s a very easy construction project, but we didn’t want to take the time, considering we were already going to have to wait for our supplies to be delivered before construction could begin since we are not venturing out yet. So we needed raised garden beds. I’ve been trying to support small businesses and American manufacturing where possible, and there are two major players in the raised gardening bed game: Gronomics, and Greene’s Fence Co. They’re available in stores at major home improvement retailers, and online at Amazon and Wal-Mart. They are cedar kits with everything you need, and it’s zero nails and screws – just dovetail joints that slide boards into corner posts. Reviewers mentioned a rubber mallet is good to have on hand if your joints swell at all, but we ended up not needing one. I ordered one just in case, because our old floors have some staples that pop up with the humidity changes in Spring so we needed it anyway.
Their kits are similar, and I honestly just kept searching until I found one that wasn’t sold out until mid-July. Here’s the one we ordered (out-of-stock at time of writing this). It’s bigger than we’re using right now, but it gives us room to grow. We’ve laid out 3 connected 4×4′ beds, so we have two to spare. Here’s what they have available now on Amazon:
Weed Barriers for Garden Beds
Part of the benefit of the design of the square foot garden is that the plants are close enough together that they crowd out weeds. There will be some weeding involved of course, but less than row gardening for sure. For a fresh start, since we assembled our beds on a wild stretch of our yard that is a lot of weedy ground cover, I looked into weed barriers.
You can get weed barrier fabric, but I don’t want to stop any deep-rooting veggies from having the space they need. It’s not recommended. Cardboard is. It breaks down with moisture and heat pretty quickly, but helps to smother out anything lurking.

We have a lot of cardboard from Amazon packages and moving boxes, so that’s what we used. You want plain, dull corrugated cardboard, not glossy, and be sure to strip off any tape. It turns out large mirror moving boxes fit just about perfectly in our 4×4′ beds.


Square Foot Garden Soil/Mel’s Mix
I can vouch for: Miracle-Gro organic soil
You need good soil. More than you think. Here’s a page with a calculator based on your garden bed size. The square foot gardening guide touts the benefits of Mel’s Mix, a 1:1:1 ratio of vermiculite, peat, and compost. Try as I might, securing delivery of all of these three components proved challenging and prohibitively expensive. Instead, I searched for raised bed mixes and went with Miracle-Gro organic soil (seen holding down cardboard above)- available in-store or by truck delivery from the Home Depot.
There are other options out there for pre-mixed soils, and you can buy the Mel’s Mix components individually from the Lowe’s or Home Depot – it just depends on what’s available at your local stores. You’ll have to visit their sites to see what they have. There was no organic compost to be spoken of in our area.
Seeds
Seeds I can vouch for:
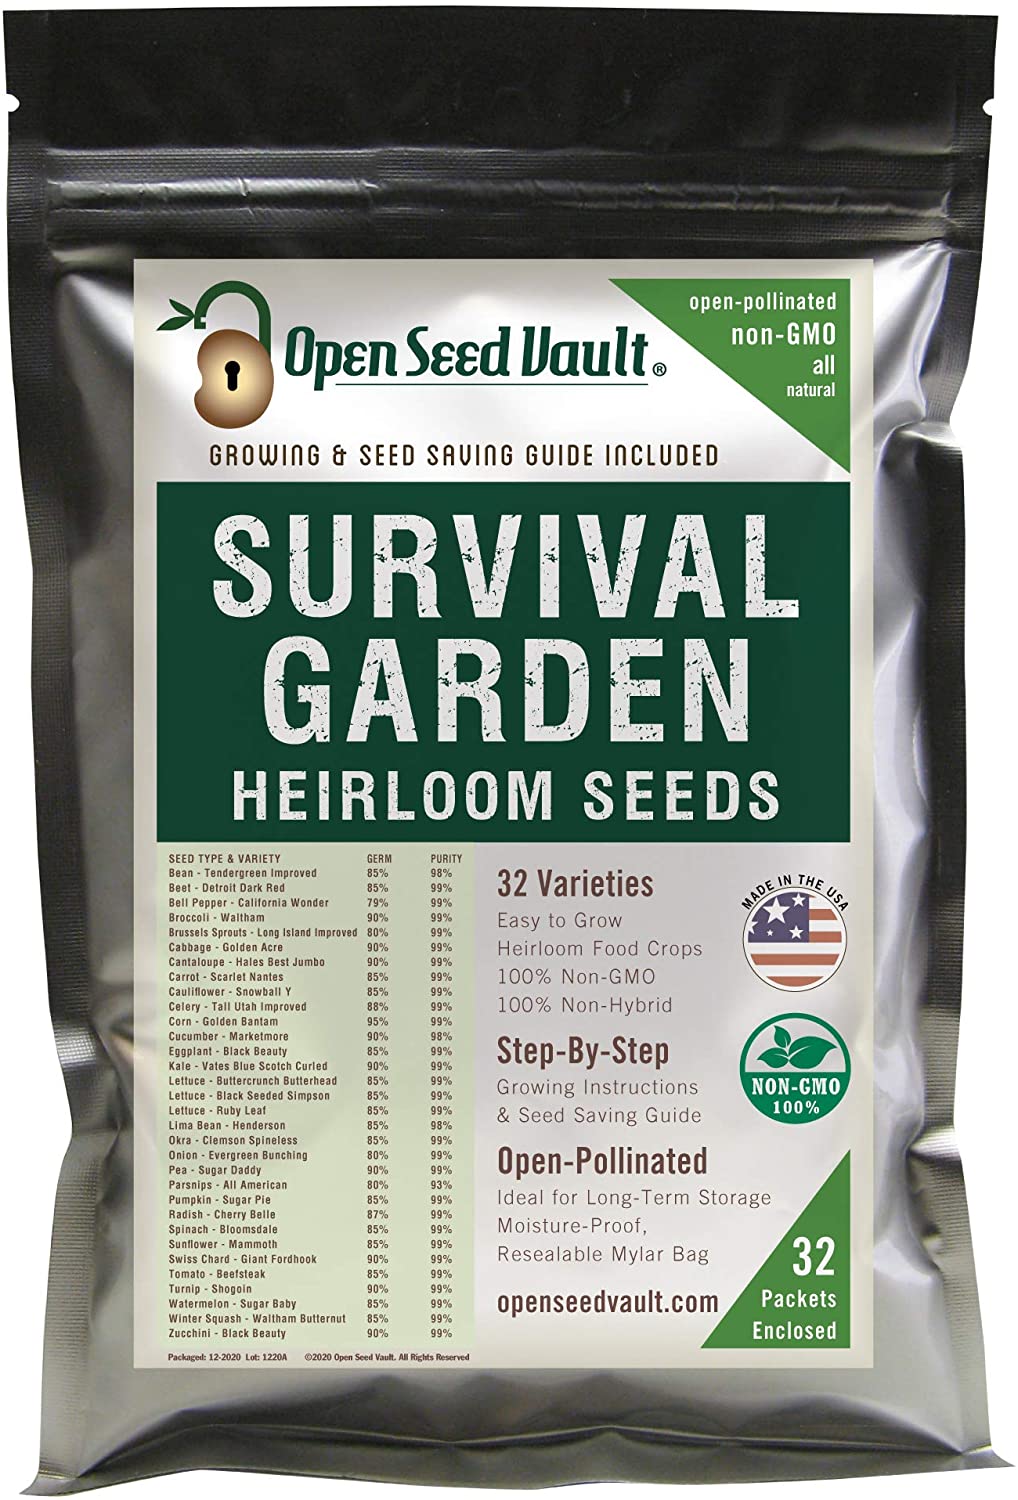
- Organic Non GMO Survival Garden assortment
- Non GMO Crookneck Yellow Squash
- Organic Non GMO Spaghetti Winter Squash
- Organic Non GMO Lettuce Varieties
If you’re able, check in with your local nurseries for organic seeds or starter plants. Otherwise, here’s some on Amazon:
Our first year I bought the Survival Garden assortment. Apparently it used to be $16, but they have a superior product and they know it so they’re capitalizing on the COVID-tory garden craze. Rebel Gardens has smaller sets for starting with fewer vegetables – they’re the two links on the right, above.
Trellises
You supply the water and sunlight to get things growing. If you’re growing a climbing plant (zucchini, squash, watermelon, pumpkins, tomatoes), you’ll need a support structure. As you can see below, I bought a trellis from YardnBarn on Etsy – a Minnesota-based maker of gorgeous, sustainable wood garden supplies.

Here’s a tomato cage similar to the trellis I bought – which will hopefully be back in stock soon. I love that the simple square structure will echo the square layout of the garden bed.

Greenes and Gronomics make modular wooden trellises ($$$$) to go with their kits as well, and Panacea is a US maker of metal A-frame trellises, here’s some on Amazon:

Organic Pest Control & Deer Deterrents

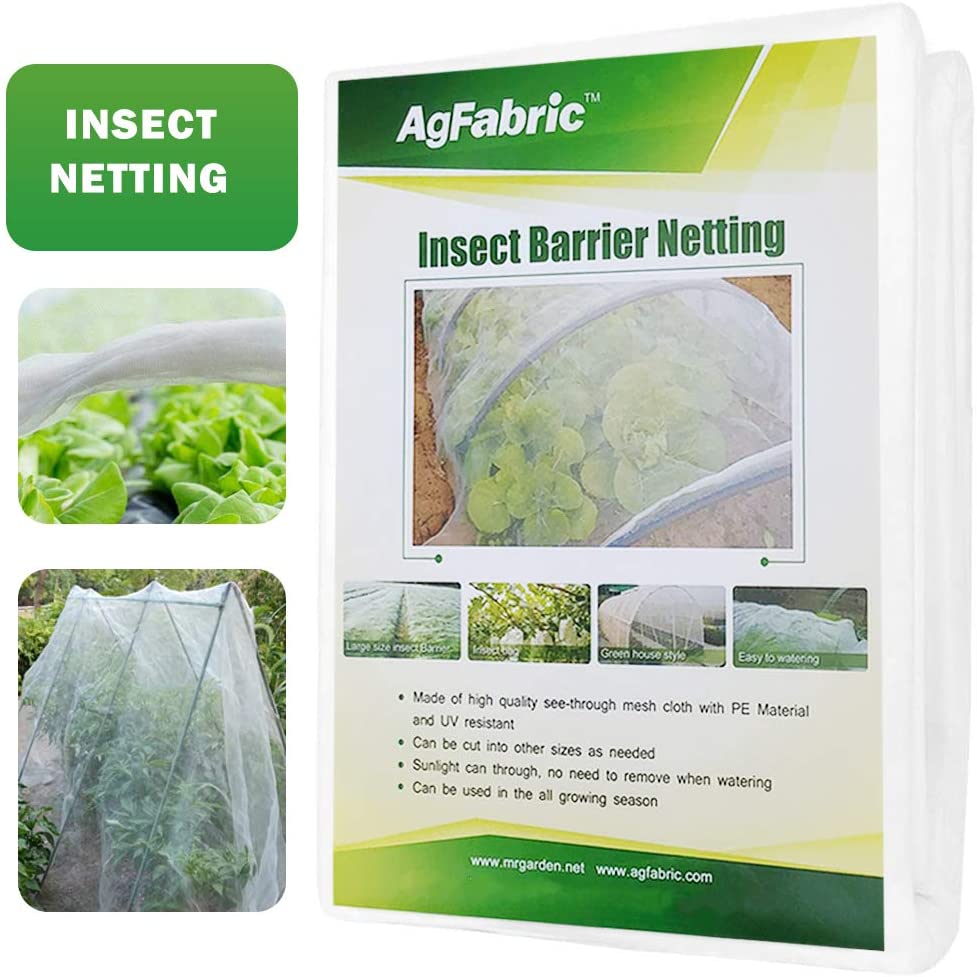
You’ll need netting to prevent pests from accessing your undoubtedly abundant harvest. I ordered this one – it’s specifically insect screening, which still allows full sunlight and water flow. It comes in a whole bunch of sizes, and also will keep birds off your food. Make sure you buy it wide enough to accommodate the vertical growth of your veggies. I just clip it to our beds with these extreme clothespins, but you can buy wire hoops to make your own row covers, or buy pre-fab covers. Here’s a selection of netting and row covers/supplies:
Here’s a closer look at the netting I set up in our home square foot garden. We have had explosive growth with this netting.

For deer (one walked by earlier as I was writing this), you can plant marigolds but really you need a physical barrier to deter them. You should be able to avoid a fence with this trick: you wrap clear fishing line at varying heights going up several feet. The deer can’t see it, but they feel it and the mysterious forcefield freaks them out enough to scare them off, apparently. I bought this fishing line to set up on stakes, but it turns out our deer are deterred by our netting well enough. I have heard reports of deer eating through netting though, so you may need to implement more than one strategy depending on how persistent and hungry your local deer are.
Pollinators & Other Good Critters and Netting in Organic Square Foot Gardening
We open up the netting on either side of the garden when the squash and other veggies needing pollinators are in bloom to let bees do their work, and have had great success in keeping unwanted pests that damage vegetables out.
We do need to check the netting regularly though for the good guys that sometimes get caught up in our netting – like this praying mantis:

Our garden is long enough to just roll back the netting a bit further down from where something is stuck so we’re not in the way when they emerge, but you may need to use caution if there’s anything large or with a stinger that may flight into your face if you’re close by.

I have heard tales of birds getting caught in netting. I clip the netting down around our garden bed so that it is tight, and we have not had any problems with birds getting caught, thankfully. Definitely something to be careful to monitor.
Plan Your Vegetable Garden Layout & Calendar
Make grids on scratch paper or graph paper, or use online planning software. This is not a sponsored suggestion – I used this software myself. Remember the old Farmer’s Almanac your parents had? It’s by those guys. They know what they’re doing. There is a free 7 day trial period which lets you plot out your squares, and provides a printable schedule with bar graphs that show you when you can grow them in your gardening zone (google “your zip code + gardening zone” to find this). They also have pop-up guides to each vegetable, so the info you need to get started is all in one place.

Their user-interface is not stellar, but they have a new design in the works. Get in and get out during the free trial for just getting set up, or subscribe for reminders about planting and harvesting and more personal support.
Here’s an apartment square foot garden in the process of being laid out, with vegetables mixed in with flowers.
Companion Planting
If you’re up for more research, another part of your layout to consider is a concept called companion planting: planting herbs and flowers and certain vegetables next to each other to optimize growth conditions, attract pollinators, and pest control. This sounded totally overwhelming to me, but I found two very helpful reference charts to make it simple.
Deanna from Homestead and Chill has a good article about the school of thought and science behind it, as well as a thorough reference chart – and look at her amazing gardens!
And here’s an article with a visual reference chart I pinned from Mom With a Prep.
Starting Seeds Indoors
You can even start to lay out your seeds before your garden is set up while you’re waiting for supplies. Here are two tutorials, the first is for creating pre-spaced seed mats you can lay out without digging in your plot.
And the next is how to create a seed mat that also pre-soaks your seeds to get a head start on germination, so your veggies sprout 2-3 times faster. I am using this technique this weekend so that we can plant in the rain without everything washing away. There is more on soaking seeds in the guide to square foot gardening e-book.
Update: In the foreground you can see our first seeds laid out, pre-soaked and sandwiched between paper towels – they were already germinating after soaking for a little more than 24 hours. I geeked out a little bit. Make sure you cover up your paper towels with your soil better than this, though – I found the exposed paper dried out quickly, endangering my little seedlings.

A Note if You’re Overwhelmed
…Because I know I felt utterly overwhelmed at first and putting a lot of pressure on myself because a big part of my motivation to start this now is having a healthy non-frozen food supply that doesn’t have a 100% markup. That’s why I decided to provide this no-nonsense guide to getting started fast, once I did figure it all out. You can start as small as you’re comfortable with.
And you know what? It takes time for a garden to grow. I think there’s some lessons to be learned in the patience of nature’s pacing in gardening. It’s a little frustrating because I really wish I had fresh lettuce for salads right now – but the time it takes to grow a garden provides time to get set up in manageable steps that make it less overwhelming. There’s a big hurdle in getting set up, and sowing the first seeds. Then there’s watching and waiting for seeds to germinate and sprout, and during that time you can secure supplies and learn about pest control and research what to plant next. And every bit of time you spend checking on your garden, you’re learning about what’s working and what’s not for your next growing season.
One step at a time. You can do this.
Go Garden
Okay, first buy things you need if you didn’t order them yet, then do it.
I hope our square foot garden is going to not only help us feed our family (fingers crossed), but give us a new adventure and learning opportunity for our kids. We’ve got one 4×4′ bed in progress, and the other two will be set up by the end of this holiday weekend. I’ll keep you updated as we go along, and add more pics – I was planning on taking more today, but it is pouring. So, as soon as I can do so without drowning my phone, I’ll add some pictures.
And more interior updates will be coming as well – like I said, this gardening journey has taken up a lot of time this month, but I’ll be following up on our master room divider vignette and the TV room soon.
Maura
As an Amazon Associate I earn from qualifying purchases.
Don’t forget to pin it!


